
Transforming Your Home: A Step-by-Step Exterior Rendering Guide


Understanding the Basics of Exterior Rendering
Transforming the exterior of your home can significantly enhance its curb appeal and value. Exterior rendering involves applying a protective and decorative coating to the outside of your house. This process not only improves the aesthetic but also adds a layer of protection against weather elements. Whether you're looking to modernize an old facade or add value for a future sale, this guide will walk you through the essentials.

Choosing the Right Materials
The first step in any exterior rendering project is selecting the appropriate materials. Some popular options include cement render, acrylic render, and lime render. Each material has its unique properties. For instance, cement render is durable and cost-effective, while acrylic render offers flexibility and a range of color options. Lime render is breathable and ideal for older buildings.
Consider the climate and style of your home when choosing materials. It's also wise to consult with a professional to ensure compatibility and longevity.
Preparing the Surface
Preparation is critical for a successful rendering job. Start by cleaning the exterior walls thoroughly to remove dirt, grease, and loose paint. You may need to repair any cracks or holes in the wall surface to ensure a smooth application. This step often involves sanding and patching.
Once the surface is clean and repaired, apply a primer to ensure better adhesion of the render. This step is crucial for preventing peeling and ensuring a long-lasting finish.
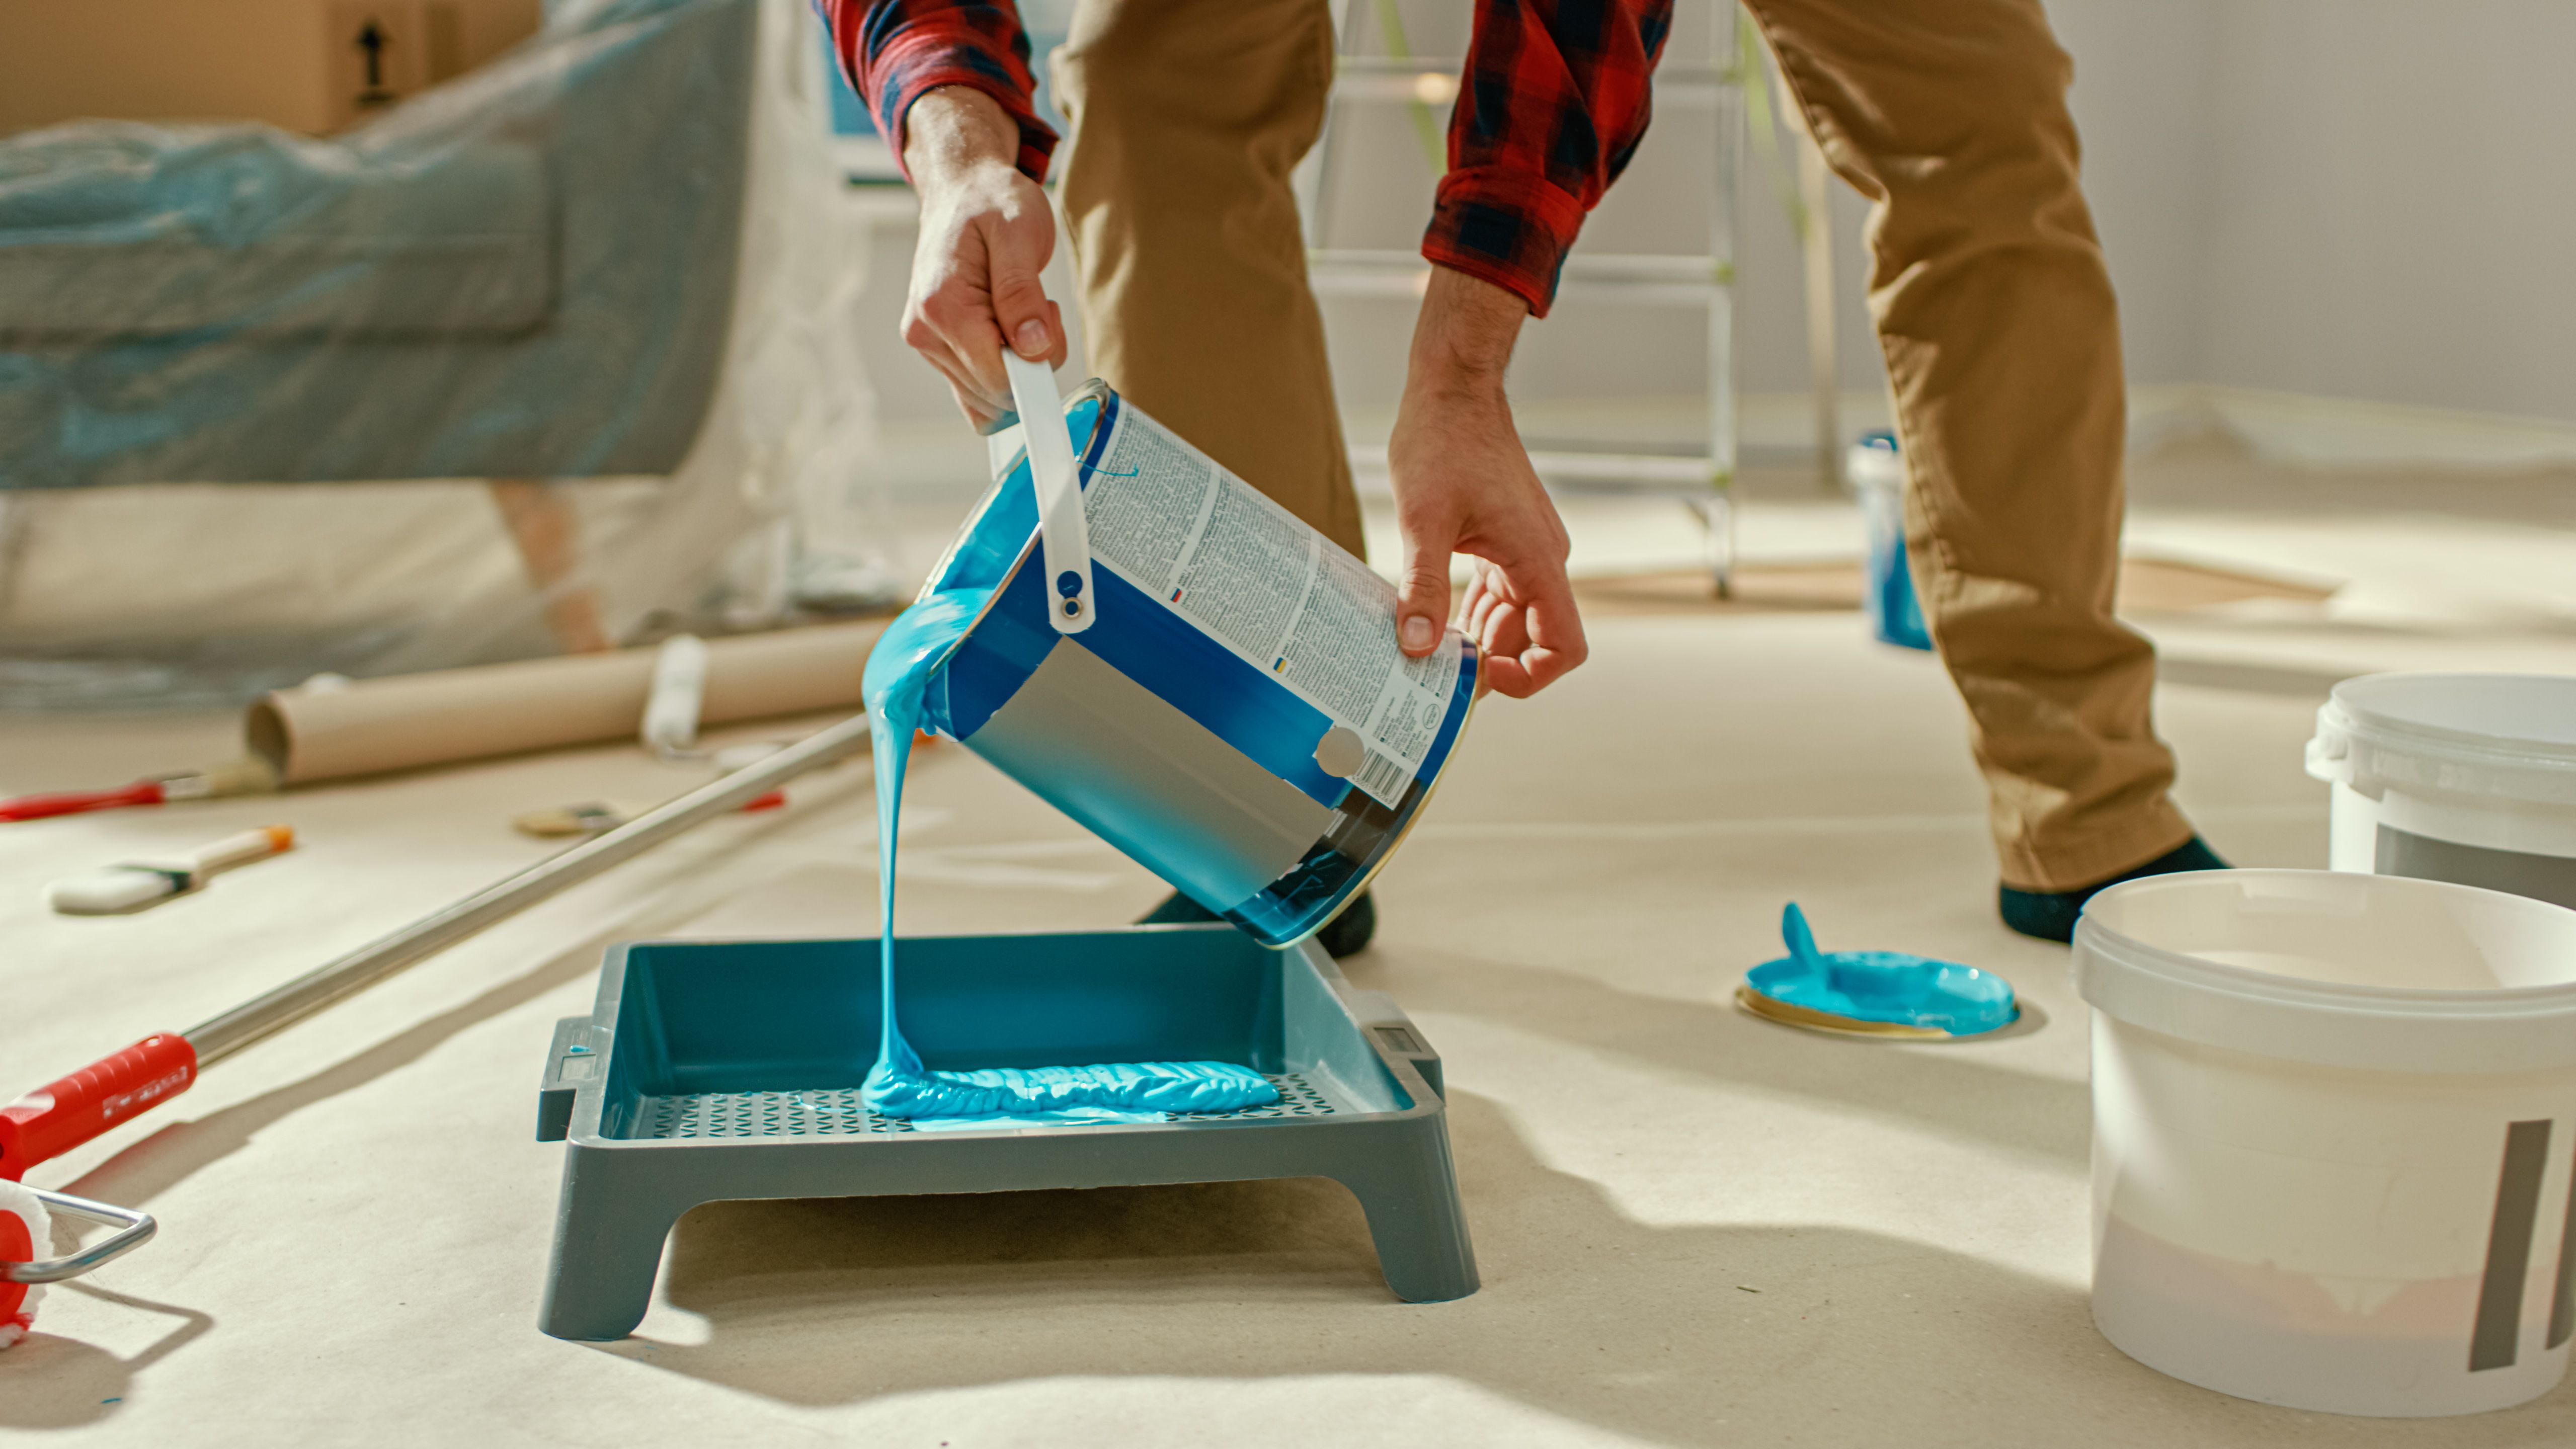
Application Techniques
Applying the render can be done manually or with a machine, depending on the material and the size of the area. Manual application involves using a trowel to spread the render evenly across the surface. Machine application is faster and often used for larger projects.
Start from the top and work your way down, ensuring each layer is smooth and even. It's important to apply the render in thin, consistent layers to prevent cracking and ensure a professional finish.

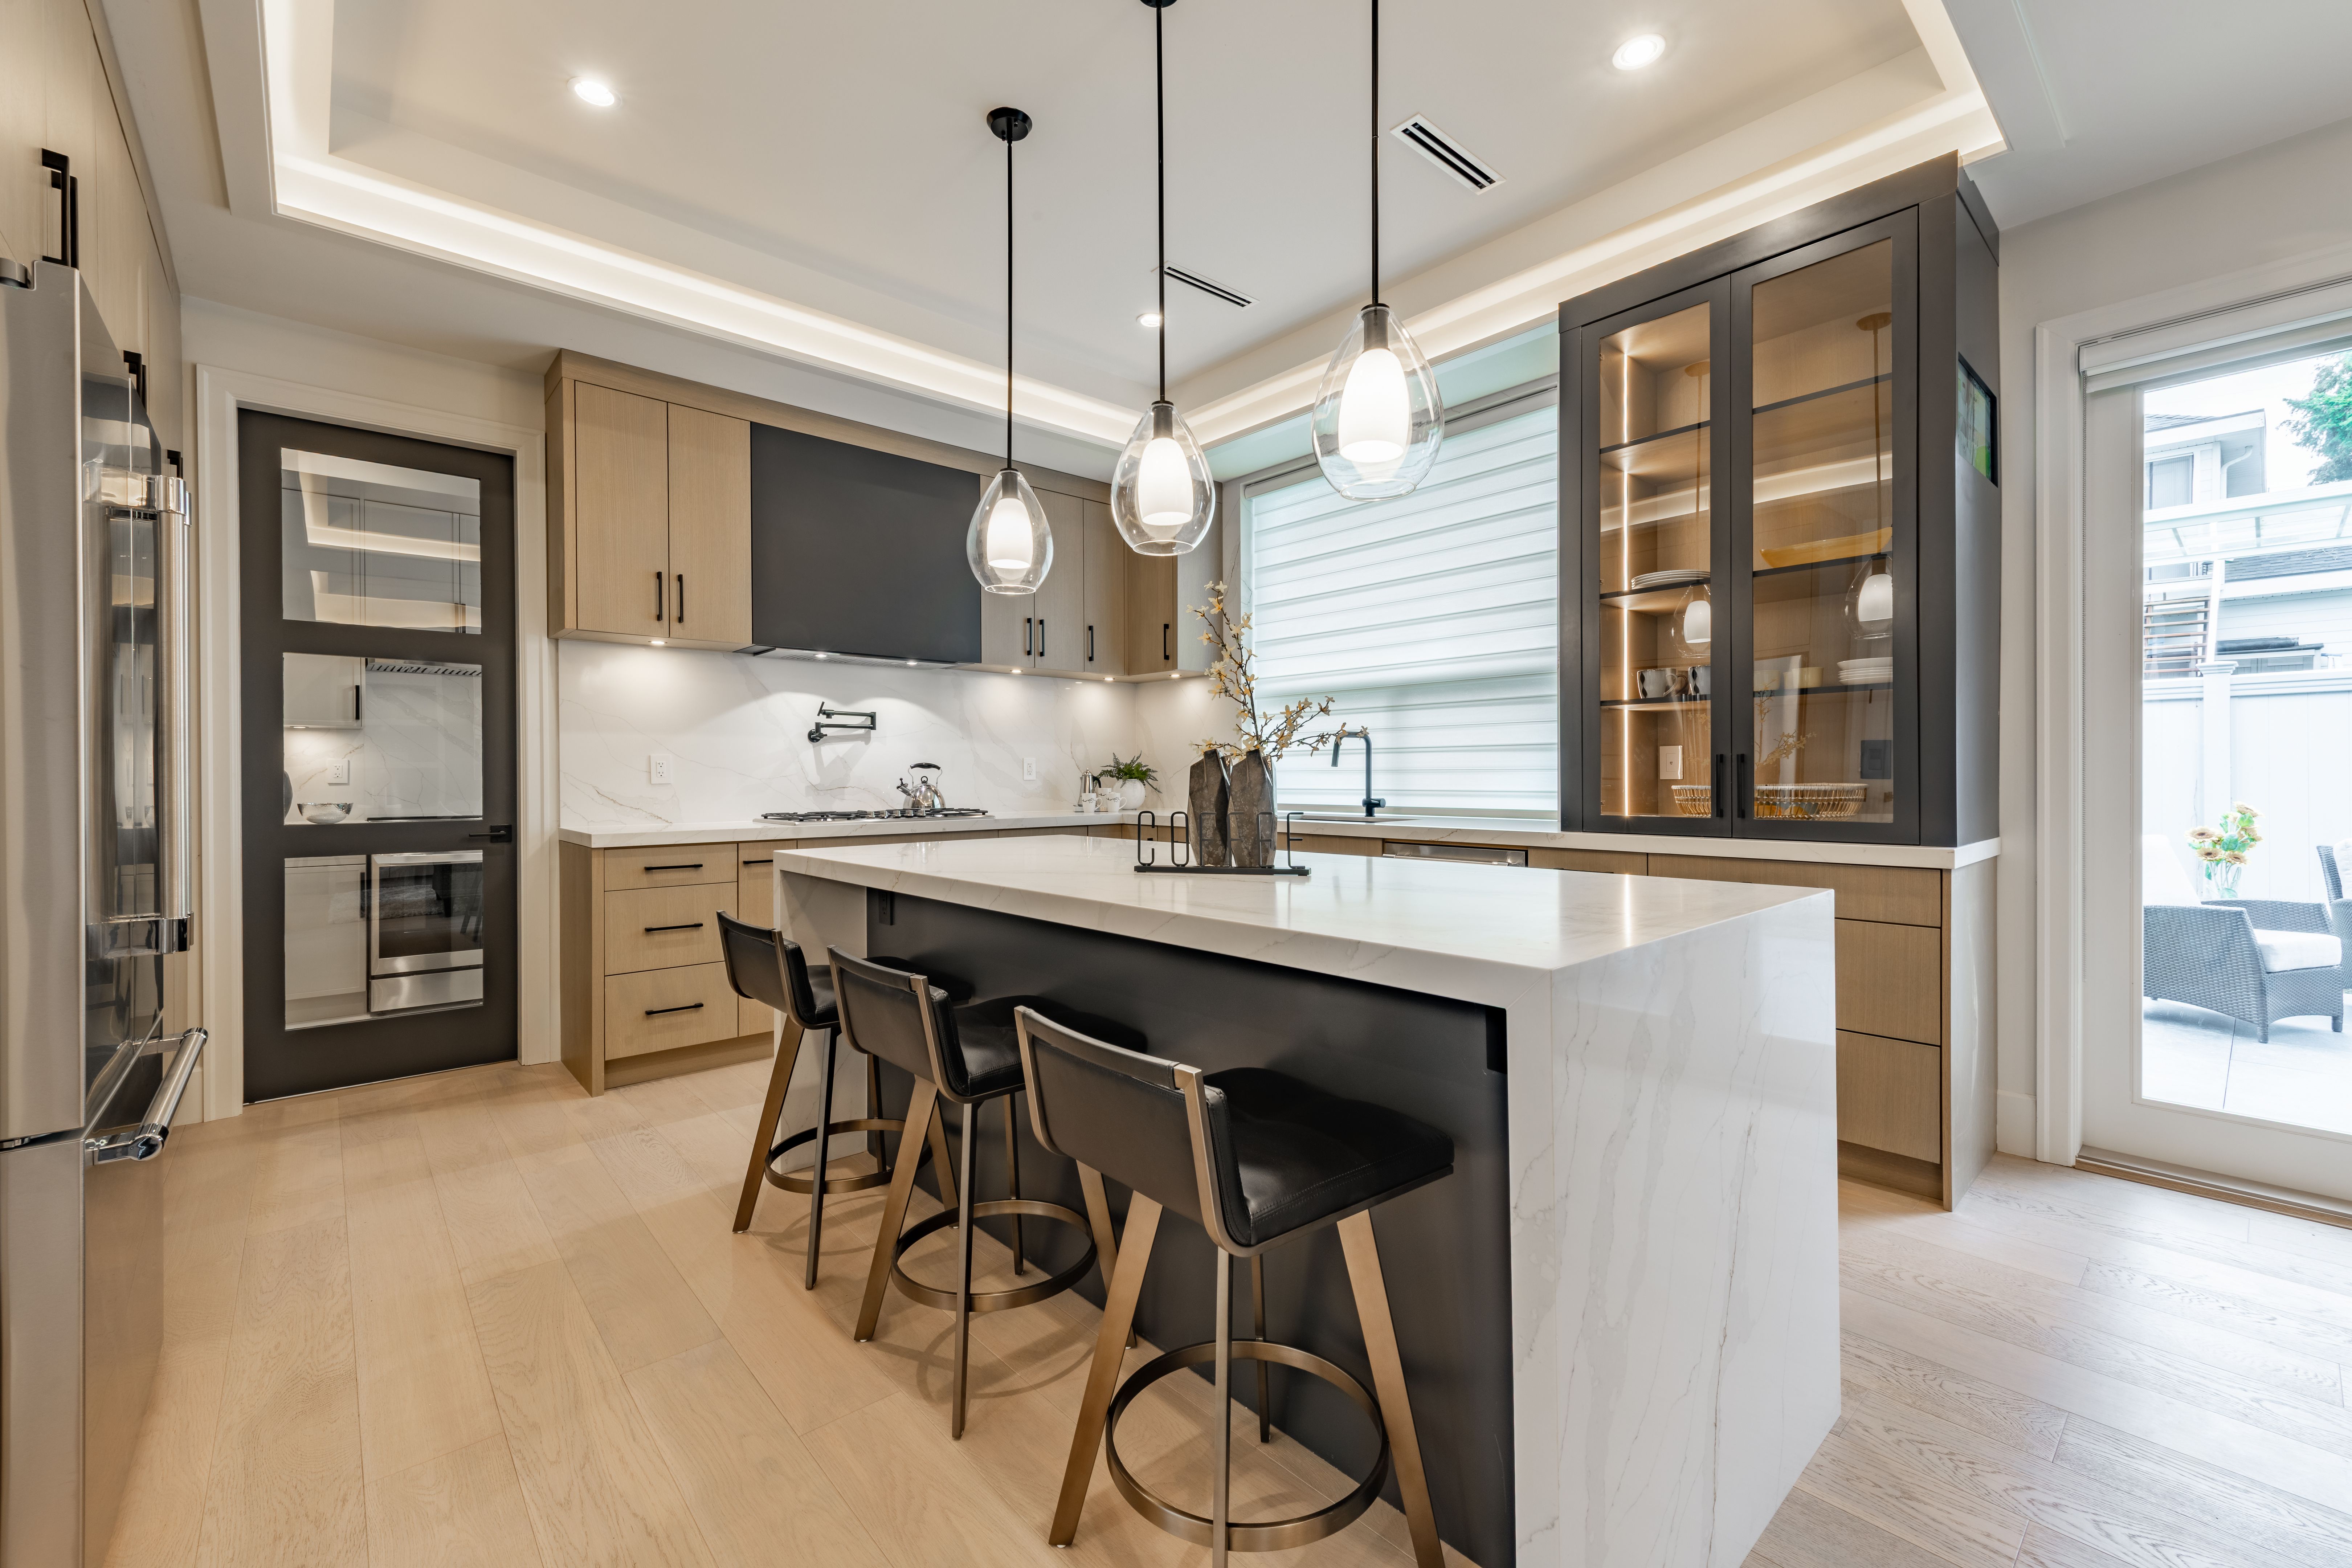
Finishing Touches
Once the render is applied, it's time to add the finishing touches. This may involve painting, applying a textured finish, or sealing the render for added durability. Painting allows for customization and can significantly enhance the visual appeal of your home.
Consider using colors that complement the overall design and landscape of your property. Sealing the render can protect it from moisture and UV damage, extending its lifespan.
Maintenance and Upkeep
Maintaining your newly rendered exterior is essential for preserving its appearance and functionality. Regularly inspect the surface for any signs of damage, such as cracks or peeling. Prompt repairs can prevent further deterioration.
Cleaning the rendered surface periodically will help maintain its fresh look. Use a gentle cleanser and a soft brush to remove dirt and grime. Avoid harsh chemicals that could damage the finish.
Conclusion
Transforming your home's exterior through rendering can have a profound impact on its appearance and value. By understanding the process and carefully selecting materials and finishes, you can achieve a stunning transformation. Whether you choose to do it yourself or hire a professional, this guide provides the foundation for a successful project.