
Transform Your Space with Microcement: A Step-by-Step DIY Guide


Understanding Microcement
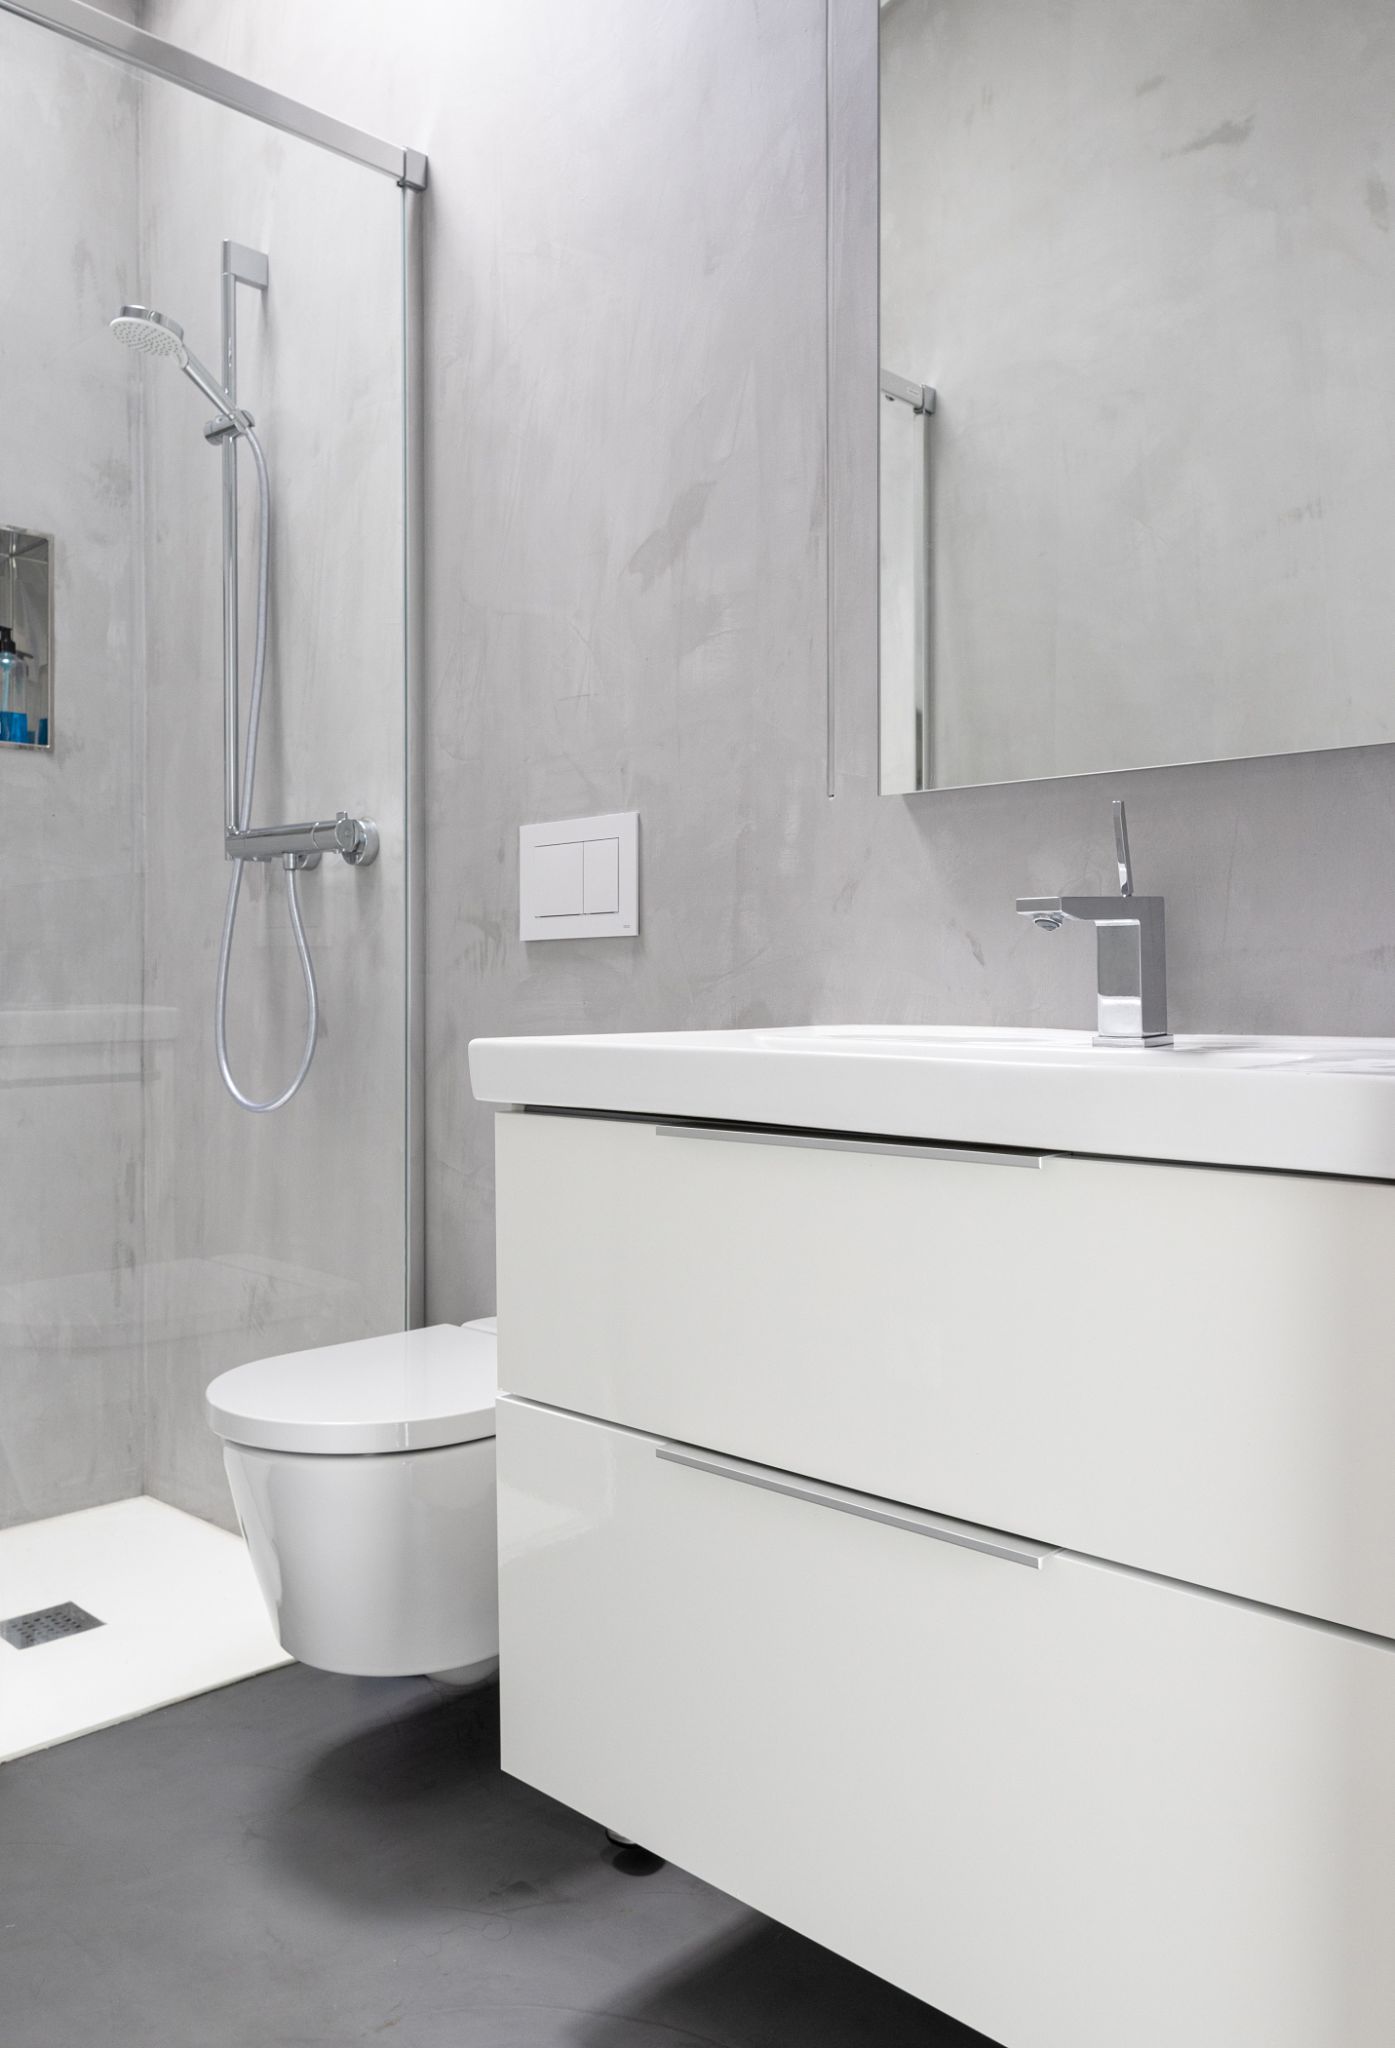
Microcement is a versatile and stylish material that has become increasingly popular for home renovations. This composite coating can be applied to floors, walls, and even furniture, offering a seamless and modern look. It's ideal for creating a contemporary aesthetic without the need for extensive construction work. Microcement is not only durable but also customizable, allowing homeowners to choose from various colors and textures.

Before diving into your DIY project, it's crucial to understand the properties and benefits of microcement. This material is known for its excellent adhesion and ability to transform various surfaces, including tiles, wood, and concrete. Its waterproof nature makes it suitable for bathrooms and kitchens, providing a sleek, easy-to-clean surface.
Gathering Your Materials
To get started with your microcement project, you’ll need to gather some essential tools and materials. Here’s a checklist to guide you:
- Microcement mix
- Primer
- Trowel
- Sanding tools
- Sealer
- Protective gear (gloves, mask)
Having the right tools will ensure a smooth application process and enhance the final result. Make sure to purchase high-quality microcement products to achieve a durable and professional finish.
Preparing the Surface
The key to a successful microcement application is proper surface preparation. Begin by cleaning the area thoroughly to remove any dirt, grease, or loose particles. If you're applying it over tiles or uneven surfaces, consider using a leveling compound to create a smooth base.
Once the surface is clean and even, apply a primer to enhance adhesion. Allow the primer to dry completely before proceeding to the next step. This preparation phase is crucial for ensuring the longevity and appearance of your microcement finish.
Applying Microcement
With the surface prepped, it's time to apply the microcement. Begin by mixing the microcement according to the manufacturer's instructions. Use a trowel to apply a thin layer, working in small sections at a time. Aim for a consistent thickness to achieve an even finish.
Allow the first layer to dry, then sand it lightly to remove any imperfections. Apply additional layers as needed, sanding between each one until you achieve the desired texture and appearance.
Sealing and Finishing
Once you've applied the final layer of microcement and allowed it to dry, it’s time to seal your work. A high-quality sealer will protect the surface from moisture and wear, preserving its appearance over time. Apply the sealer evenly with a brush or roller, following the manufacturer's guidelines for drying time and application.
For added protection, consider applying multiple coats of sealer, especially in high-traffic areas. This will ensure that your newly transformed space remains beautiful and functional for years to come.
Maintenance Tips
Maintaining your microcement surface is simple. Regular cleaning with a mild detergent and water will keep it looking fresh. Avoid using harsh chemicals or abrasive materials that could damage the finish.

If you notice any small scratches or scuffs over time, these can often be polished out with fine sandpaper. By following these care tips, you can enjoy your stunning new space without worrying about extensive upkeep.
Conclusion: Enjoy Your Transformed Space
Transforming your space with microcement is a rewarding DIY project that can drastically change the look and feel of your home. With its modern appeal and practical benefits, microcement is an excellent choice for those looking to update their interiors without major renovations.
By following this step-by-step guide, you can achieve professional results and enjoy a stylish, durable finish in any room of your home. Embrace the transformation and relish in the compliments from friends and family on your impressive handiwork!