
Preparing Your Home for a Rendering Project: A Step-by-Step Guide


Taking on a home rendering project can be an exciting yet daunting task. Proper preparation is key to ensuring a smooth process and a successful outcome. Whether you're updating your home's exterior for aesthetic reasons or to improve its insulation, this guide will walk you through the necessary steps.
Understanding the Basics
Before diving into the preparation process, it’s important to understand what rendering involves. Rendering is the application of a coat to the exterior walls of your home. This coat can be made from different materials such as cement, lime, or acrylic. It not only enhances the appearance of your property but also provides protection against weather elements.

Inspect and Repair Surfaces
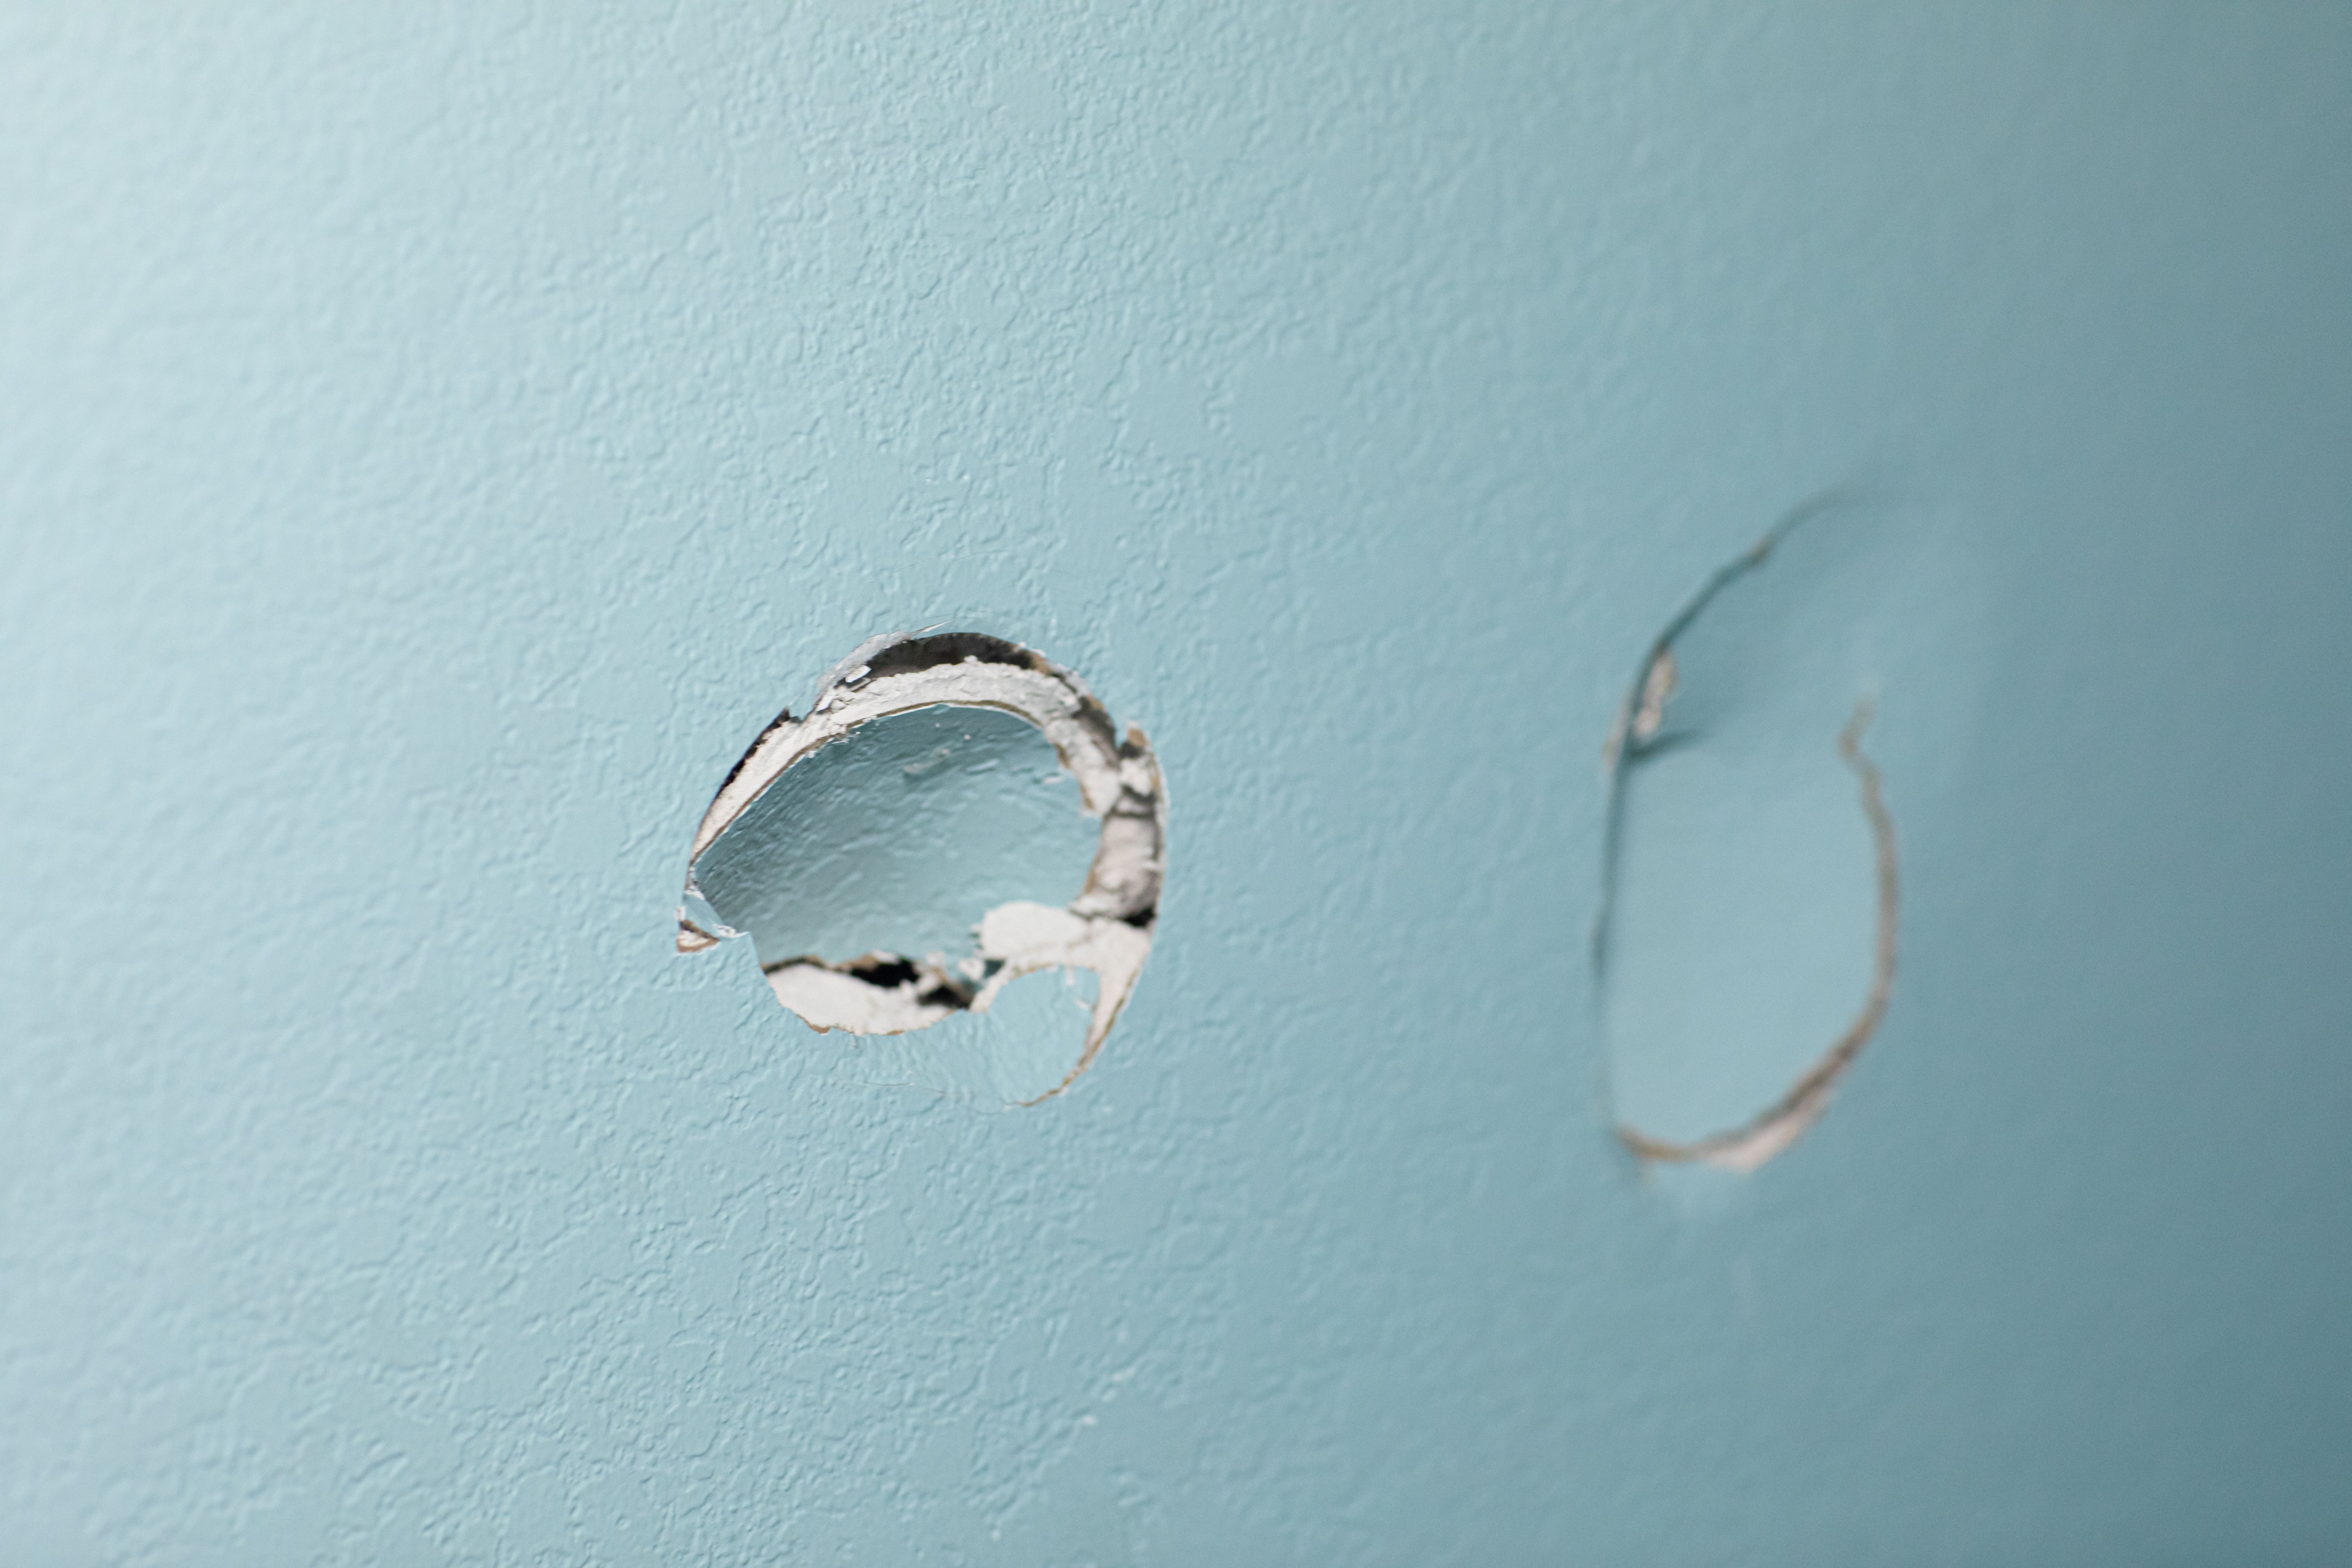
The first step is to inspect your walls for any damage. Look for cracks, holes, or loose material, as these issues need to be addressed before rendering begins. Repairing these areas will ensure that the rendering material adheres properly, providing a smooth and long-lasting finish.
How to Repair
Once you've identified problem areas, use a filler to patch up small cracks or holes. For larger repairs, you may need professional assistance. It's crucial to allow these repairs to dry and set completely before moving forward with the rendering process.
Clean Your Exterior Walls
Cleaning your walls is an essential step in preparing for rendering. Dirt, dust, and algae can prevent the rendering material from sticking properly. Use a pressure washer to remove grime and ensure a clean surface. Be sure to let the walls dry thoroughly after cleaning.
Select the Right Rendering Material
Choosing the right rendering material is vital for the appearance and durability of your home’s exterior. Consider factors such as climate, desired finish, and budget. Cement render is cost-effective and durable, while acrylic render offers flexibility and a variety of textures.

Protect Your Surroundings
Before starting the rendering process, protect surrounding areas such as windows, doors, and pathways. Use protective coverings like plastic sheets or tarps to prevent accidental splashes or damage. This step will save you time on cleanup and ensure a professional finish.
Additional Protective Measures
Consider removing or covering outdoor furniture and plants to avoid any damage from rendering materials. Taking these precautions will help maintain your garden’s beauty and functionality.
Plan for Waste Disposal
Rendering can produce a significant amount of waste, including old render, packaging, and waste material. Make arrangements for proper disposal, whether through a skip hire service or local waste management facilities. This will keep your project environmentally friendly and organized.

By following these steps, you can confidently prepare your home for a rendering project. Proper preparation not only ensures a smooth process but also contributes to the longevity and beauty of your home's exterior. Invest time in these preliminary steps to enjoy the benefits of a beautifully rendered home.