How to Apply Microcement: A Step-by-Step Guide for DIY Enthusiasts
Introduction to Microcement
Microcement is a versatile and modern decorative finish that can transform the look of your floors, walls, and even furniture. Its seamless and durable properties make it an ideal choice for DIY enthusiasts seeking a contemporary aesthetic. In this guide, we'll walk you through the process of applying microcement to achieve a professional look in your own home.

Gathering Your Materials
Before you begin, it's crucial to have all the necessary materials at hand. Here's a list of what you'll need:
- Microcement kit (includes primer, base coat, and finish coat)
- Mixing tools (drill with mixer attachment)
- Trowels (steel and rubber)
- Sanding pads
- Protective gear (gloves, mask, goggles)
Preparation is key to a successful microcement application, so ensure everything is ready before you start.
Preparing the Surface
The surface you are working on must be clean, dry, and free of any grease or dust. If you're applying microcement over tiles, fill in the grout lines to create a smooth surface. For porous surfaces, a primer is necessary to ensure proper adhesion.
Apply the primer with a roller or brush and let it dry completely. This step is vital as it prevents moisture from seeping through and affecting the microcement.

Mixing and Applying the Base Coat
Once your surface is prepared, it's time to mix the base coat. Follow the manufacturer's instructions for mixing ratios, using a drill with a mixer attachment for consistency. The mixture should be smooth and lump-free.
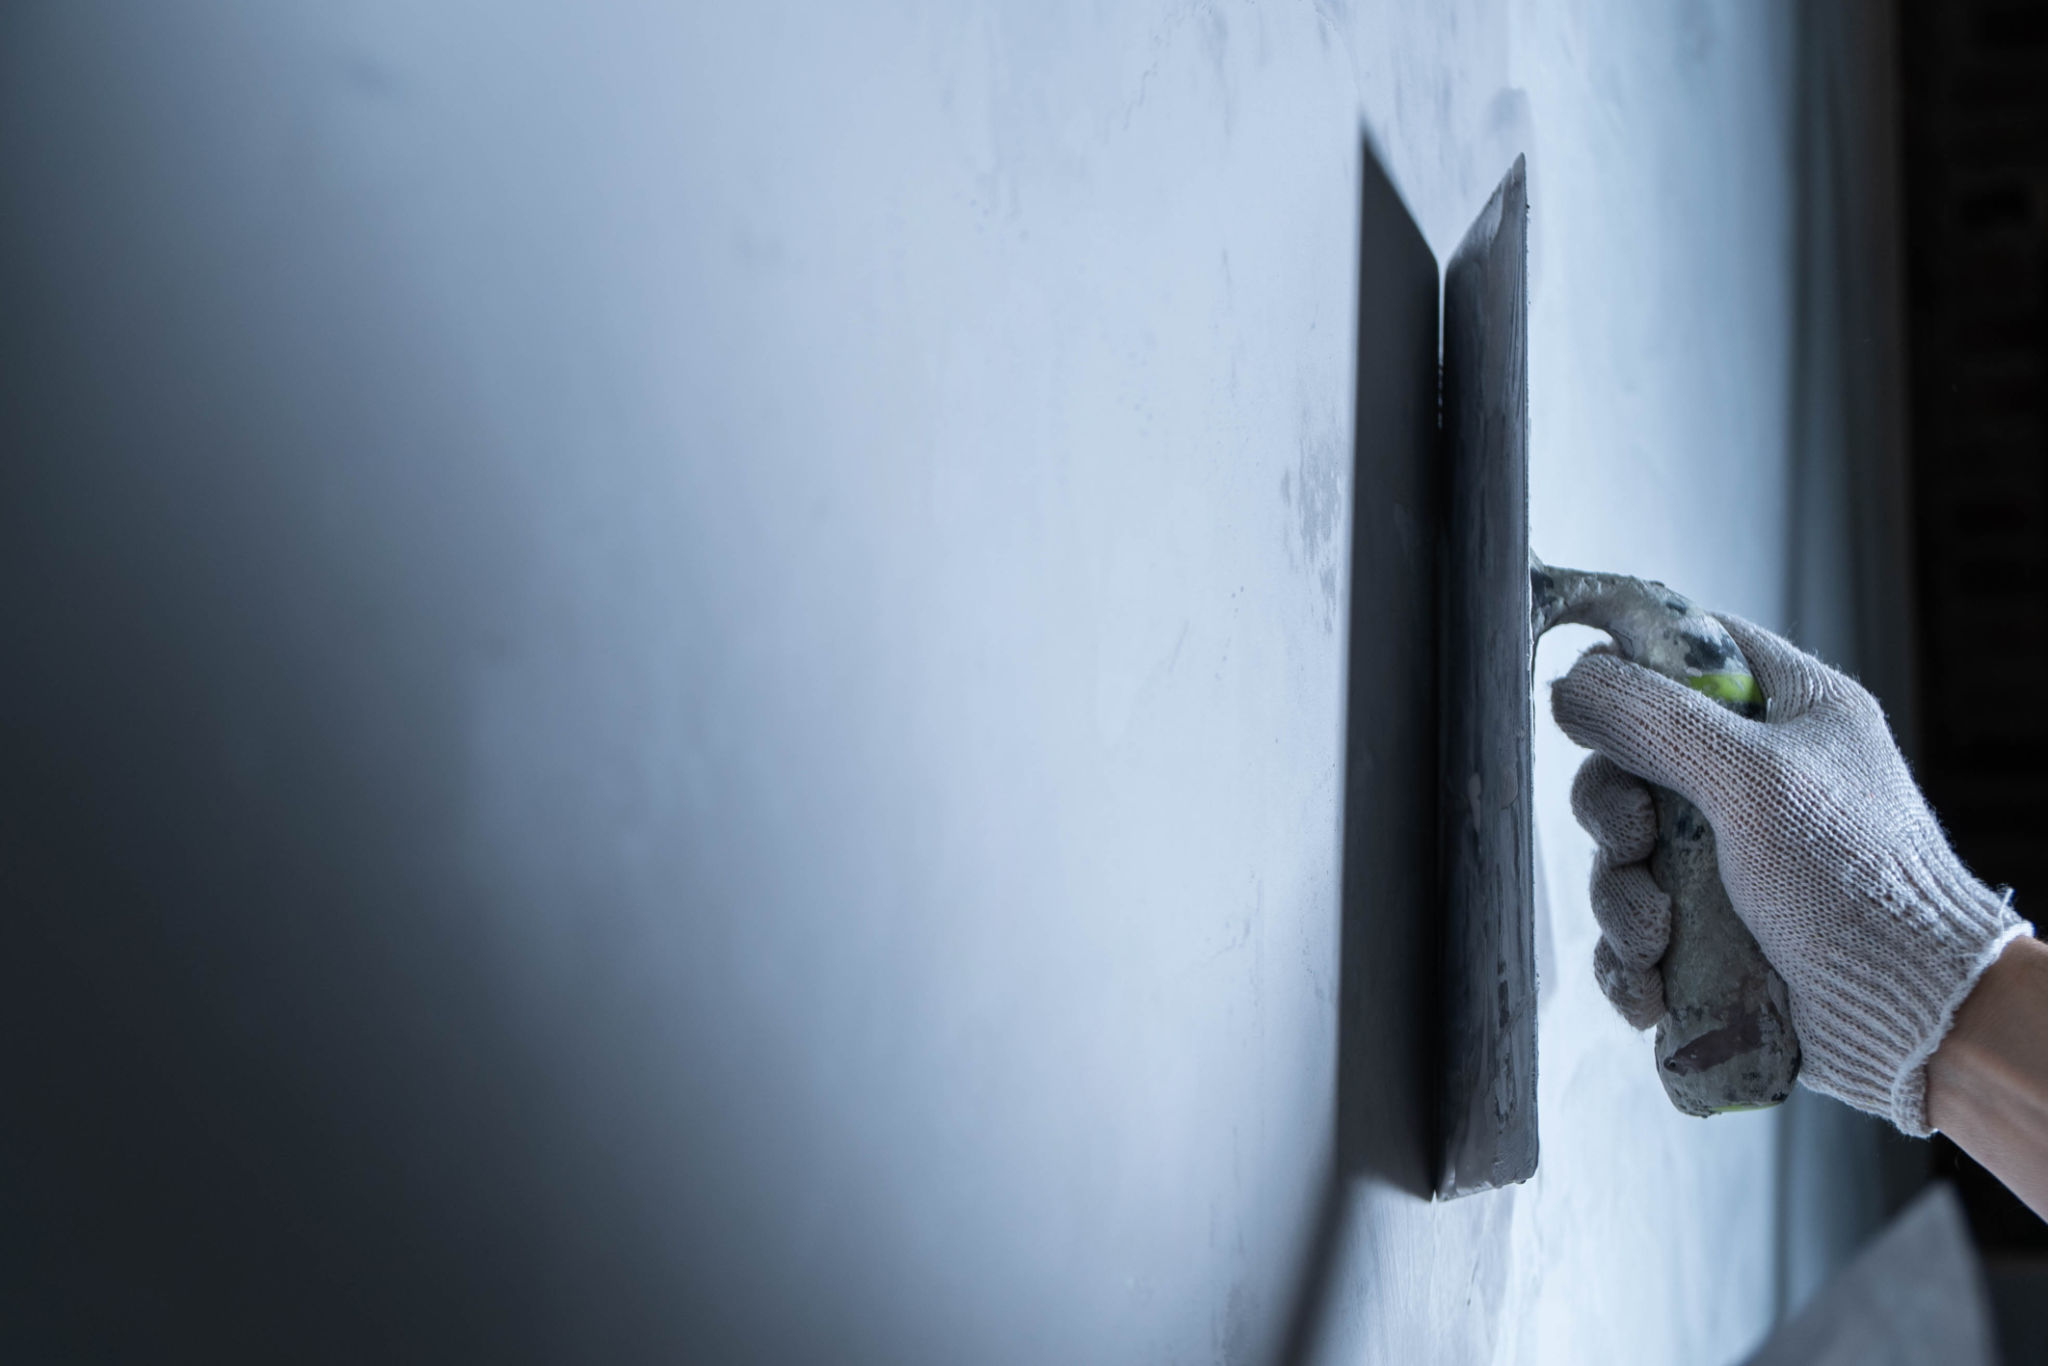
Apply the base coat using a steel trowel, spreading it evenly across the surface. Aim for a thin layer of about 1-2 mm thickness. Allow it to dry for at least 24 hours before proceeding to the next step.
Sanding and Layering
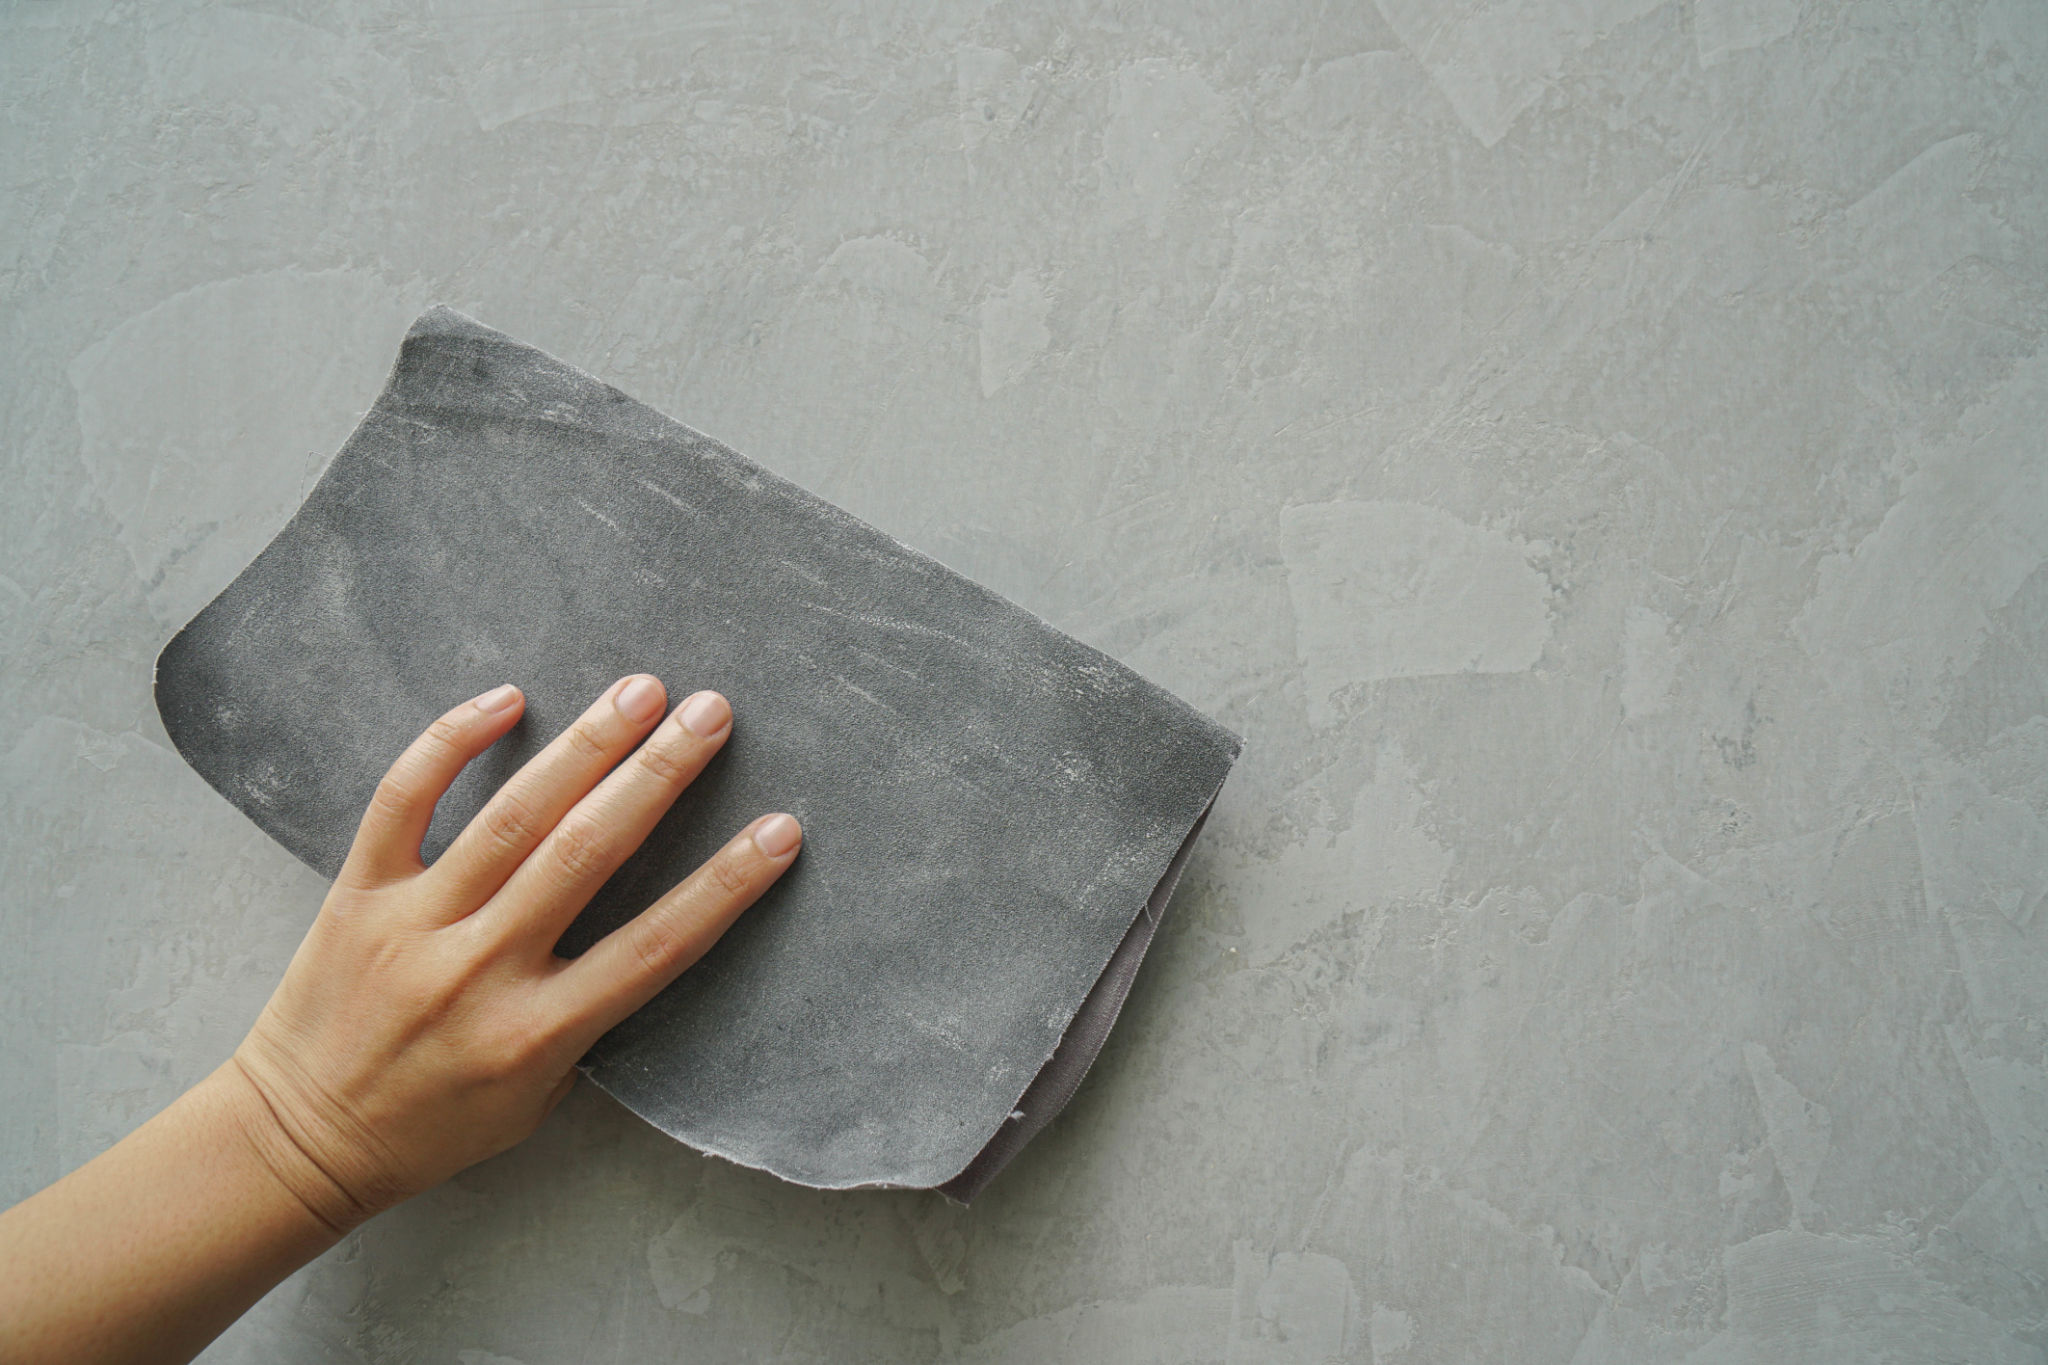
After the base coat has dried, lightly sand the surface with fine-grit sanding pads. This step helps to remove any imperfections and prepares the surface for additional layers. Be sure to clean away any dust residue before continuing.

Apply subsequent layers of microcement following the same process: mix, apply evenly, and sand after drying. Usually, 2-3 layers are sufficient for most projects. Each layer should be thinner than the last to create a smooth finish.
Finishing Touches
The final step involves applying a finish coat or sealer to protect your microcement surface. This not only enhances durability but also adds a beautiful sheen or matte look, depending on your preference. Ensure the finish is evenly applied and allow it to cure as recommended by the manufacturer.
Your microcement project is now complete and ready to enjoy. Regular maintenance will keep it looking fresh and new.

Conclusion
Applying microcement may seem daunting at first, but with careful preparation and attention to detail, you can achieve stunning results that rival professional installations. Whether you're updating your kitchen countertops or revitalizing your bathroom walls, microcement offers a stylish and durable solution. Happy DIYing!
